
Drywall Installation in The Woodlands, Texas from The Woodlands Drywall Co.: New Board Hung, Taped and Primed for Additions, Remodels and Interior Builds
The Woodlands Drywall Co. has handled drywall installation in homes and commercial interiors across The Woodlands, Texas for 20 years. We are fully insured. New drywall installation here covers additions, garage conversions and enclosed patios; remodels where the old board comes off first; and small interior builds such as closets and bonus rooms. Drywall hanging, taping and priming are handled as one job by one crew, so no part of the wall waits on a second trade.
Our sheetrock installation follows ASTM C840, the published standard for hanging and fastening gypsum panels, and GA-214, the published scale for finished-surface smoothness. A standard sheet of sheetrock measures 4 feet by 8 feet, with 1/2-inch board as the common thickness, while heavier and sag-resistant sheets are also available. Your estimate comes from a free on-site look, and before any board is hung we specify each room's board in writing, so you know what is going on your walls and what it costs before the truck loads.
We install throughout Montgomery and Harris counties, including Shenandoah, Oak Ridge North and Grogan's Mill. For a free on-site estimate, call (346) 248-4075 or use the quote form.
Get A Free Quote
Drywall Installation in The Woodlands: Where New Board Goes In
Drywall installation adds new gypsum panel to the walls and ceilings of an existing building. Because you continue living in the house or keep the business open while finished rooms sit beside unfinished ones, dust control, access and protection become part of the job, and drywall installation contractors plan occupied-space work around the rooms that remain in use. Offices, retail units and tenant spaces use the same new drywall installation.
Additions, Garage Conversions and Enclosed Patios
A garage conversion, enclosed patio or bump-out turns space that was outside the finished house into a finished room inside it. Because these spaces were framed for another purpose, the spacing of the upright timbers and the ceiling height can change from one part of the room to another. With room additions, the critical point is the junction between the old wall and the new one, because that is the wall you will look at every day.
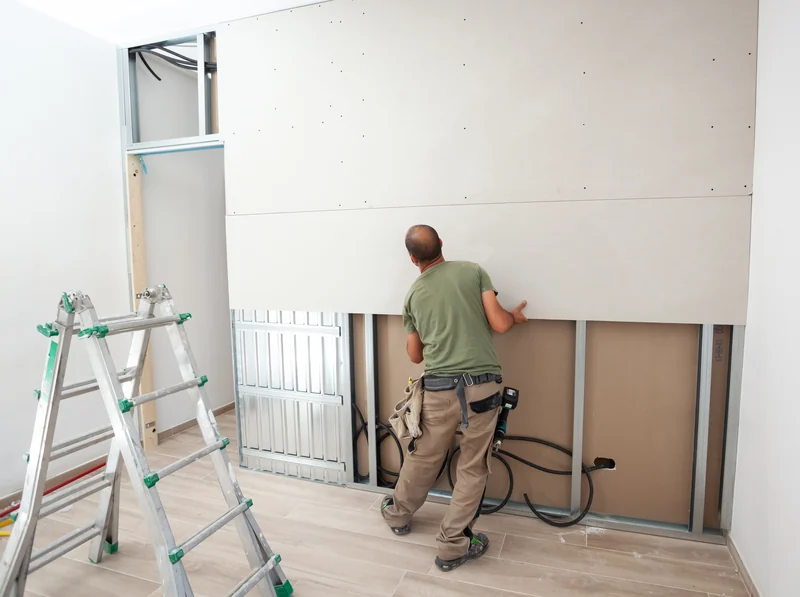
We open the existing wall back to solid framing before tying in the new board, then place the seam deliberately at that point. A seam is where two sheets meet and are taped flat. Matching the surrounding texture across that seam is what finally makes it disappear, and that texture matching is a separate service. Once the sheetrock installation is finished, there is no visible sign of where the old room ended.
Remodels Where the Old Board Comes Off First
Much of our sheetrock installation involves drywall replacement, which starts with removing the old surface. Once we open a wall or take down a ceiling, what we find behind it determines the work, including old fasteners, failed adhesive and earlier patches. We then check the framing with a moisture meter, which measures how much water the wood holds, and we do not close the wall or ceiling until the framing reads dry.
On a house built before 1990 we test the old joint compound before any of it comes down, and if the test comes back positive, a licensed abatement contractor handles that material before we return. If we uncover established mold growth, we stop, document it, and refer you to a licensed mold professional before the rebuild continues. When an open wall widens the scope of your remodeling drywall, we revise the estimate in writing.
Closets, Bonus Rooms and Other Small Interior Builds
Closet drywall, a bonus room over the garage and a wall built to divide one room into two are their own kind of work because you view the finished surface from two feet away instead of ten. Bonus room drywall also has short runs, which means more cut edges than factory edges, and every cut edge takes longer to finish. Small builds are mostly corners, with corner bead required on every outside corner. Finishing often takes a day longer than the drywall hanging because the coats have to dry in turn. The metal stud framing that supports a new partition is separate work.
Free Quote FormHanging, Taping and Finishing Drywall to Standard
At the hanging stage, gypsum panel is cut, lifted and fastened to the framing, and that is where the quality of the finished wall is established, before any finishing coats are applied. Board order, layout and fastening are all settled before compound goes on, so every decision made at this stage shows later in the sheetrock. We check this part of a drywall installation against ASTM C840, the published standard that governs how board is fixed to framing.
Ceilings First, Then Walls
Ceiling drywall goes up before any wall sheet. The top sheet on each wall then slides under the edge of the ceiling panel and supports it, so the ceiling is carried along its edges as well as by its fasteners. While a panel is being fastened overhead, we hold it flat against the joists with a drywall lift, a wheeled cradle that raises a full sheet and keeps it in place. Joists are the framing that ceiling drywall fastens to. Where the room allows, the panels run across the joists instead of along them. A heavier sheet is specified overhead when required. A ceiling built new from the framing up is separate work.
Where the Seams Land
Wherever two panels meet, they form a seam, and the two types of seams behave differently. The long edges of a panel are tapered, which gives tape and compound room to finish flush with the surface on both sides. The short ends are cut square, and when two square ends meet they form a butt joint that sits proud of the wall and has to be feathered much wider before the build-up disappears. We stagger the seams so four sheet corners never meet at one point, and we keep them away from the corners of door and window openings, where the frame moves most and cracks begin.
Houses here sit on concrete slabs that rise and settle with the seasons, so seam placement helps keep that movement from showing on your walls. When the drywall is hung horizontally, the tapered seam lands about four feet above the floor and the total length of seams is shorter.
How the Screws Go In
Screws hold the board to the framing, with each one driven just below the face without breaking the paper. That leaves a shallow depression called a dimple for compound to fill later. Because the face paper carries the screw's grip, any screw that tears through it no longer holds the board, so we back it out and drive a replacement beside it.
Typical screw spacing is about 12 inches on ceilings and about 16 inches on walls, but the exact spacing changes with the assembly, panel direction, framing, fastener and whether adhesive is used. Screw length is matched to both the board and the framing, so 1/2-inch and 5/8-inch board require different screws.
Corners, Openings and Transitions
Drywall corners are where a flat surface changes direction, and each type is finished differently. An outside corner takes metal corner bead, a rigid strip fastened over the edge and buried under the finish to keep that exposed corner straight where people put their hands. We set each run of bead plumb before fastening it because the finished surface follows the bead, not the framing behind it. An inside corner is taped instead because the two surfaces brace each other. Where drywall meets brick, tile or a window return, we trim the edge instead of feathering it down to nothing. Where the layout allows, a single sheet runs past the corner of a frame in one piece.
Taping and the Coats That Follow
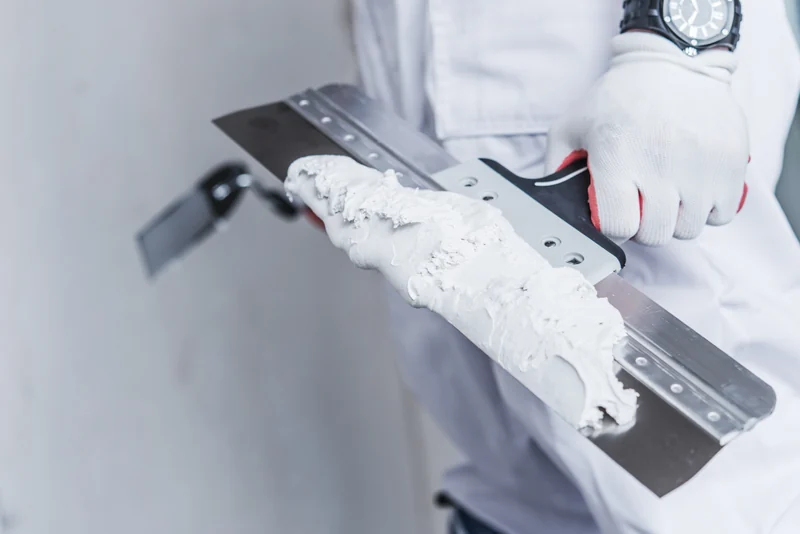
Taping turns hung board into a wall that is ready for paint. Paper tape is bedded into the first coat of joint compound over every seam, while each dimple is filled, then a fill coat and finish coat follow, with each coat spread wider than the one before it. Every coat dries before the next is applied, and the final coat typically takes about a day to dry before sanding and primer. Setting-type compound is also used at this stage and hardens through a chemical reaction instead of drying out. Your estimate names the finish level included in the drywall finishing.
The Board Itself: Thickness, Type and Where Each Belongs
Drywall board is not a single product, and the drywall thickness used on this work ranges from 1/4 inch to 5/8 inch depending on what each surface has to do. Before anything is ordered, we write the board list room by room. If a room requires a specialty panel, your estimate lists that panel separately at its own price.
Half-Inch Board, and Where a Thicker Sheet Belongs
Half-inch board is the standard working thickness for most interior walls, and your drywall installation uses it unless a surface requires something heavier. On a ceiling, the sheet is supported only where it crosses the joists, and a lighter panel sags between them under its own weight, so ceilings use 5/8-inch board or a sag-resistant panel where the joist spacing requires it. Quarter-inch board is used to face over an existing surface rather than build a new one.
Sheets are 4 feet wide and come in 8-, 10- and 12-foot lengths, with longer sheets covering long walls with fewer butt joints. Sheetrock is a brand name and drywall is the generic name for the same product at the same price, so sheetrock installation refers to this same work.
Fire-Rated Walls and the Board That Goes In Them
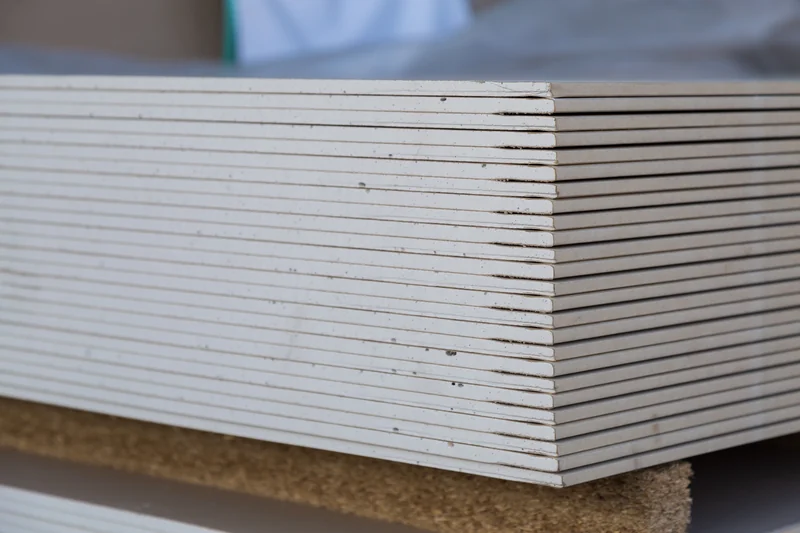
Type X drywall is gypsum board made with additives that help the panel stay intact longer under fire, but it is a board type, not a fire-resistance rating. That rating belongs to a complete tested assembly, with the panels, framing, fasteners, joints and penetrations all tested together as one construction. Penetrations are the holes cut through the assembly for pipes and wiring. No board thickness or number of layers carries a rating by itself, so your plans name a listed assembly and the listing specifies everything that goes into it.
Two situations bring Type X drywall into a house. One is a garage that adjoins rooms you live in, and the other is a wall shared with a neighboring home. In either case, Type X is most often a 5/8-inch panel. When a listed assembly is required, your written estimate identifies it. Fire-rated drywall has its own page here.
Moisture-Resistant, Sound-Damping and Specialty Panels
Moisture resistant drywall belongs in rooms that get damp without direct water exposure, which usually means a laundry room, powder room or garage. Paperless drywall uses a fiberglass face in place of paper, leaving nothing on the surface for mold to feed on. The splash zone, the surface inside a shower or tub where water lands, is not drywall territory; it requires cement backer board or a glass-mat backer panel, and no paper-faced gypsum board belongs behind that tile. Sound-damping panels are the other specialty drywall we hang around bedrooms, home offices and media walls. Our humid subtropical climate is why damp-room board appears on so many of our board lists.
Where the Board Comes From
Our drywall materials come from established manufacturers, including USG, National Gypsum and CertainTeed. Gypsum boards look nearly identical on a pallet, so each sheet has its type and manufacturer printed on the back. That mark lets an inspector, or anyone who opens the wall years later, confirm that the panel behind your paint matches the board list. If a sheet cannot be identified, it has to be treated as ordinary board, which creates a problem anywhere a specific type was required, such as a damp room or a wall the plans place in a listed assembly. Unmarked sheets come from unverified bargain pallets.
Why Choose The Woodlands Drywall Co. for Drywall Installation
Before any material is ordered for your drywall installation, we put the board for every room in writing, explain what each sheet is doing there and price every specialty panel on its own line. That per-room board specification is what to ask drywall installation contractors for, because it gives you a written specification and schedule you can hold someone to, not just a price and a promise to be careful.
Four more commitments come with working this way, and you can check each one against what actually happens on your property:
- The person who walks your job is the same person who runs the crew that completes it.
- The written line-item estimate reaches you within 24 hours of that visit, with the work broken out piece by piece.
- Drying time is built into the schedule from the first day, not added after the job is already underway.
- When you are living in the house, dust containment and surface protection are included in the base scope.
We have worked as a drywall contractor in The Woodlands for 20 years. The company is fully insured. Financing is available for qualifying work. Call (346) 248-4075 or send us the quote form to book the visit.
What Drywall Installation Costs by Room and by House
Drywall installation is priced by the square foot of finished surface, so the cost to install drywall in a room starts with its size before we quote a price. Repair work is priced by the job instead, which is why the two estimates look different. Photos you send us can support an initial price range, but an on-site visit is what makes that price firm because the measurements and access are certain only after someone has stood in the room.
Priced by the Square Foot
Hung, taped and finished to a Level 4 wall, drywall installation typically costs $1.50 to $3.50 per square foot, while a Level 5 smooth wall generally costs $3.00 to $4.50 per square foot. Both finish levels come from GA-214, the industry standard for finished surfaces, and the price difference reflects the added labor and material required for the smoother finish. The square footage is based on finished surface area, which means the walls plus the ceiling wherever the ceiling is part of the scope. Your finish level appears as its own line on the estimate, so you can price the smoother wall as a separate choice instead of having it folded into the total as an allowance.
What a Room Actually Comes To
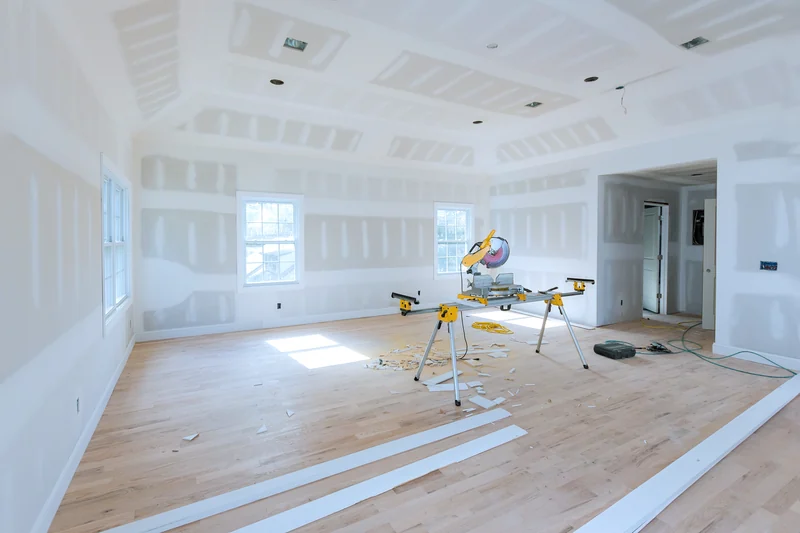
A 12-by-12 bedroom with the ceiling included costs roughly $800 to $1,850 at those rates, while the cost to drywall a room is lower when the ceiling is not part of the scope.
A 20 by 20 room is calculated the same way. The walls run 80 feet around the room, and at an 8-foot ceiling height that gives you 640 square feet of wall surface. The ceiling adds another 400 square feet, matching the floor area beneath it, for a total of 1,040 square feet of finished surface. At the same rates, the price comes to roughly $1,550 to $3,650, depending on the board specified and the finish level chosen. You can measure your own room the same way by multiplying the distance around the walls by the ceiling height, then adding the floor area when the ceiling is being boarded.
What Moves the Number
Ceiling height, room layout and how easily the room can be reached affect drywall pricing more through labor than material. Soffits, the boxed-in sections that drop below a ceiling, along with returns and recesses, create more cut edges and corners that take additional finishing time. Board designed to resist moisture, slow fire or damp sound has its own requirements, so the type your room needs is reflected in the total price. If a remodel opens a wall and changes the scope, we put the revised estimate in writing. Call (346) 248-4075 or reach us through the quote form, and we will measure the room on site before pricing the work.
Free Quote FormHow an Installation Runs
A drywall installation moves through five stages, and each stage gives you something concrete before the next one begins. You get an in-person look before you commit, a written scope with a start date, and a walkthrough of the finished room before the invoice arrives. A 12 by 12 room is usually out of use for 3 to 5 days, including drying time. The Woodlands Drywall Co. runs every drywall installation in this order.
-
Call, Free On-Site Look and a Written Estimate
We look at the room before we write a number down. The visit is a free estimate, and it is where we check how material can be carried in and how high the ceiling runs, since both change how long the room takes. What we see there is what the estimate is written from. The estimate follows inside 24 hours, with each part of the job priced separately.
-
Board Specified Room by Room
Before any drywall materials are ordered, we write down what each room gets. The specification names the panel type, the thickness of the sheet and the finish level the surface is taken to. A specialty panel carries its own cost line, so you can see what choosing it adds. Where the plans call for a listed fire-resistance assembly, we identify that listing in the specification rather than leaving it to be settled on the day.
-
Protection, Delivery and Hanging
Your floors and doorways are covered and the room is closed off with dust containment before the first sheet comes in. Drywall hanging is placed after the electrical, plumbing and insulation checks are finished, and the board deliveries follow that same order, so each sheet arrives in the room that needs it on the day it is needed, and work starts on the scheduled day.
-
Taping, Coating and Drying Time
Taping is the stage where the room goes quiet for a while. The last coat needs about a day before anything further is done to the wall, and that day is already built into the schedule you were given. Nobody is standing in your house waiting to find that out.
-
Primer and the Final Walkthrough
Drywall priming is included on every installation, using the primer named in your scope. Finish painting is optional and is quoted as its own line item, so we either take the wall to the color you have chosen or hand your painter a sealed surface. The final walkthrough comes first and the invoice follows it, so you have seen every wall before you are billed for any of them.
To schedule your on-site look, call (346) 248-4075 or send us the room details through the quote form.
Working Around You While the Board Goes Up
Most drywall installation takes place in a house someone is still living in or a business that remains open to customers, so the work has to fit around meals, sleep and trade. Occupied home drywall comes down to three questions you can ask before the first sheet goes up: how dust is kept out of the rooms you are still using, how many days the room itself will be unusable, and what the local weather does to the wait between finish coats. All three have clear answers before the job begins, not after it is already underway.
Dust, Barriers and the Rest of the House
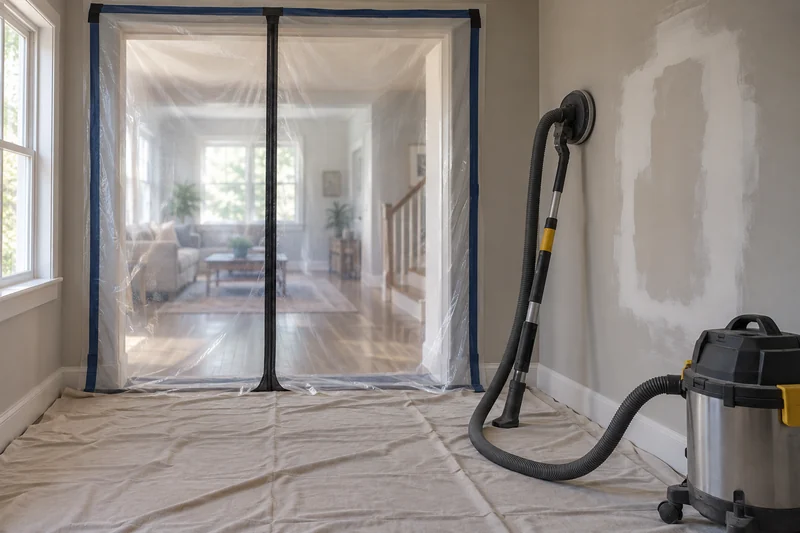
Sanding dust is the part of the job that travels, and dust containment keeps it confined to the work area. Before any tools come out, we hang plastic sheeting across the entrance to the room, seal the doorways, and cover the floors along with any furniture left inside. Our sanders pull dust directly into a vacuum at the sanding head, so most of it never reaches the air. In an occupied building, that protection is part of the base scope, not an added line item, and the barrier stays in place until sanding is complete.
How Long a Room Is Out of Use
How long drywall takes in a single room depends more on drying time than active work. A 12-by-12 bedroom is out of use for 3 to 5 days, even though hanging the sheets takes only a few hours. Most of the schedule goes to finishing because each coat has to dry before the next one is applied. A larger room does not take proportionally longer, since those drying days stay the same regardless of floor area. Your start date is included in the schedule you approve, so you know which week to clear the room.
Drying Time, Humidity and the Schedule
Joint compound dries by releasing its water into the surrounding air, so humidity is what lengthens or shortens the drying time between coats. The Woodlands has a humid subtropical climate, with summer highs near 94 degrees and winter lows near 40. Damp air keeps each coat open longer, while moving air through the room helps it dry, which is why we ventilate the work area instead of closing it up. When your timeline does not allow for that wait, we specify setting-type compound instead.
The Standards Behind a Drywall Installation
A standard is a published document that explains how the work should be done, written by an industry body and available to anyone. We follow two of them on every drywall installation, and neither is a badge we hold. That gives you something more useful than a badge: when an estimate names the standard the work will be measured against, you can compare two bids on the same terms.
What the Two Standards Cover
ASTM C840 is the application standard for gypsum panels, covering how the board is handled, hung and fastened. GA-214 is the Gypsum Association standard for drywall finish levels, defining six levels, levels 0 through 5, so contractors, owners and painters can describe the same finished surface using the same terms.
The two finish levels homeowners encounter are Level 4, the standard finish under flat paint, and Level 5, which adds a thin coat across the entire surface so gloss paint and strong side light have nothing to catch. Choosing the right level for a room, and matching any texture over it, is its own service. Where fire performance matters, it is identified by the tested fire assembly and the code listing that covers it, never by board thickness alone. We follow both standards, but we do not hold them or claim certification against them.
The Installation Mistakes That Cost the Most Later
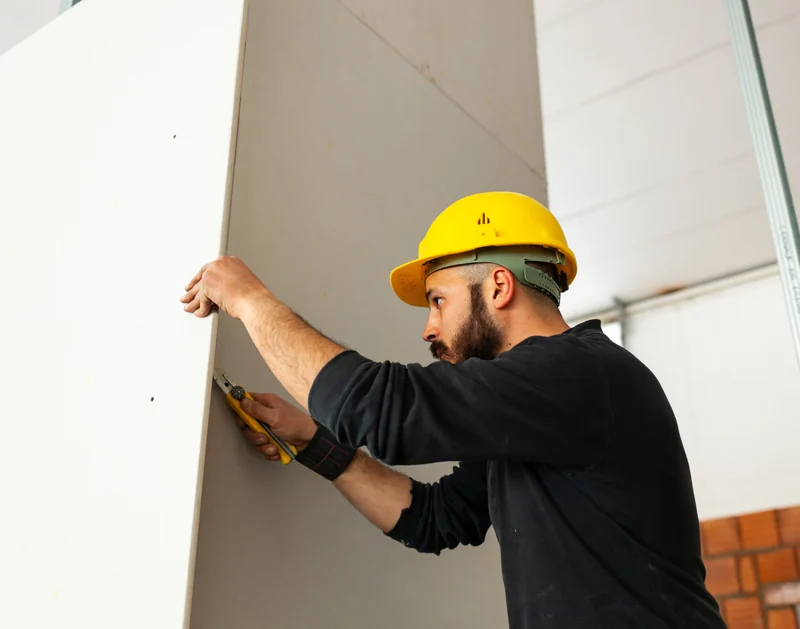
The drywall installation mistakes that cost the most happen in the moment a sheet goes up, because fixing them then means taking the panel back down instead of opening a finished wall later. Whether you are hanging drywall yourself or checking work someone else has completed, these are the mistakes worth watching for.
- Forcing a sheet into an opening that is slightly too small for it. The panel bows under pressure, and that bow remains visible through the finish long after the wall is painted.
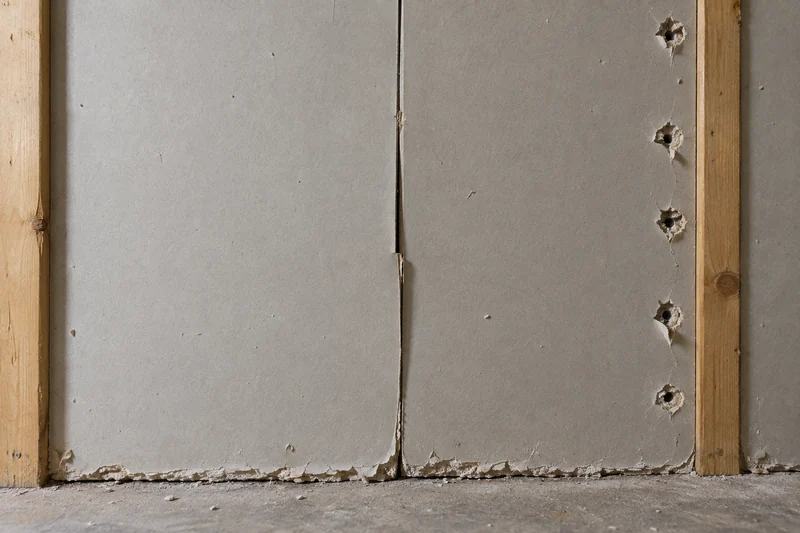
- Standing sheets directly on a bare slab floor, where the cut edge pulls moisture up into the core.
- Driving a screw hard enough to break the face paper, which takes away that fastener's hold.
- Placing a seam at the corner of a door or window opening, where the frame moves and the crack follows.
- Hanging board before the electrical, plumbing and insulation have been checked, or covering framing that is still damp.
- Using paper-faced board where moisture-resistant board belongs.
- Bridging a gap wider than about 1/4 inch with joint compound. Fill the gap with setting-type compound first, then tape it.
- Skipping drywall primer, which leaves the paper and compound absorbing paint at different rates.
Every one of these mistakes is avoidable while the board is still going up, and we plan each drywall installation to prevent them.
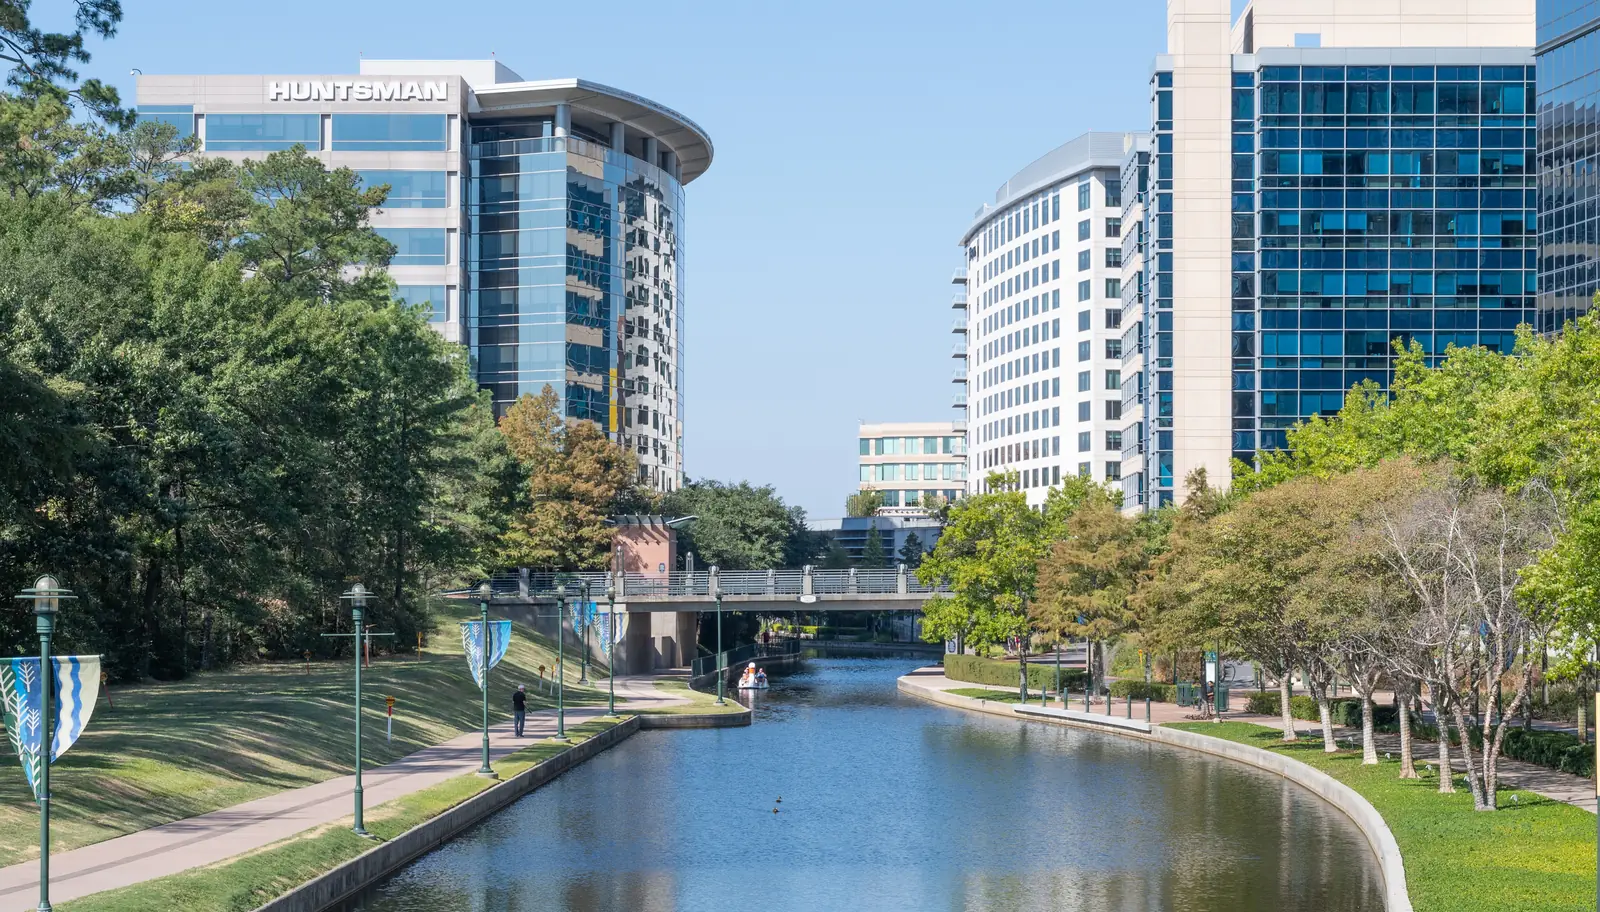
Drywall Installation Across The Woodlands, Montgomery and Harris Counties
How old your village is tells you most of what you need to know about how a drywall installation begins in your house. The oldest villages in The Woodlands date to the 1970s, and with that housing stock approaching fifty years old, the work usually starts by removing old board from the framing before new drywall goes up. The newest villages date from the 2000s onward, where the job is an addition or build-out and the first sheet goes directly onto bare studs. The humid subtropical climate affects every village, and it is the one condition that shapes our schedule the same way across all of them.
The Woodlands Drywall Co. hangs and finishes board throughout Montgomery County and across the county line into Harris County. Your community is among the areas we serve.
The Communities The Woodlands Drywall Co. Covers
Villages of The Woodlands:
- Alden Bridge
- Cochran’s Crossing
- College Park
- Creekside Park
- Grogan’s Mill
- Indian Springs
- Panther Creek
- Sterling Ridge
And the surrounding communities:
- Conroe
- Atascocita
- Spring
- Porter
- New Caney
- Humble
- Kingwood
- Tomball
- Willis
- Pinehurst
- Shenandoah
- Oak Ridge North
- Magnolia
Drywall Installation Questions
What is the correct way to install drywall?
Order determines most of the result. Ceilings go up first so the wall sheets beneath them support the edges of the ceiling panels. Seam positions are planned before any panel is lifted, fasteners are set just below the surface without breaking the paper face, and tape and finish coats are applied to the level listed on your estimate. Each sheet is fastened from the center outward, pulling it tight against the framing instead of leaving it to bridge a gap.
What is the average cost to install drywall?
Our published rates are $1.50 to $3.50 per square foot for a Level 4 finish and $3.00 to $4.50 per square foot for Level 5. What gets measured is finished surface rather than floor area, so bringing the ceiling into scope raises what a room costs for every square foot of floor it has.
What not to do when hanging drywall?
Two errors cost more than the rest: driving a screw through the face paper and putting a seam where a door or window frame turns a corner. Neither is visible on the day the work is done, but both tend to show months later after the framing has moved through a season.
Do you leave a gap between drywall sheets?
Sheets are fitted snugly without being forced, because a panel pushed into a space that is too tight bows outward. The intentional gap is left at the bottom to keep the cut edge off the slab. Any gap wider than about a quarter of an inch is filled with setting-type compound before the tape goes on.
How long does it take to drywall a 2000 sq ft house?
Hanging a house that size takes several days, and finishing extends the schedule because the compound has to release its water before the next coat goes on. Adding more people to the job does not shorten that drying time, so a whole house does not move proportionally faster than a single room. Whole-house work completed on a builder's timetable is handled as new construction.
How many layers of drywall do I need for a 2 hour rating?
No layer count carries a rating by itself. The rating belongs to the complete construction exactly as it was tested, with the board, framing, fixings, joints and every penetration through them proved together as one assembly. What gets built is the listing named on your plans. That rating is not a measure of how long anyone has to leave the building. Two-hour assemblies commonly require Type X board in more than one layer, and when a listing applies, your estimate names it.
Which is cheaper, sheetrock or drywall?
Neither costs more because they are the same product under two names. Sheetrock is a brand of gypsum panel, and drywall is the generic word for it. Material price changes with thickness and type, so a fire-rated or moisture-resistant panel costs more than a standard sheet of the same size.
What types of drywall installation projects do you handle?
Garage conversions, enclosed patios and room additions; remodels that begin by stripping away the old surface; closets and bonus rooms; and the same work inside offices, shops and leased suites all start with a building that already exists. That is what sets this work apart from whole-house drywall installation completed for a builder.
Book Your Installation Estimate with The Woodlands Drywall Co.
A free estimate for drywall installation in The Woodlands starts at your property, in the rooms where the new board will be installed. We take the measurements there, then provide a written line-item estimate.
Call The Woodlands Drywall Co. at (346) 248-4075 or use our quote form to request your free on-site estimate.